Part 159: Creepy Castle & Shield Shove
Creepy Castle & Shield Shove
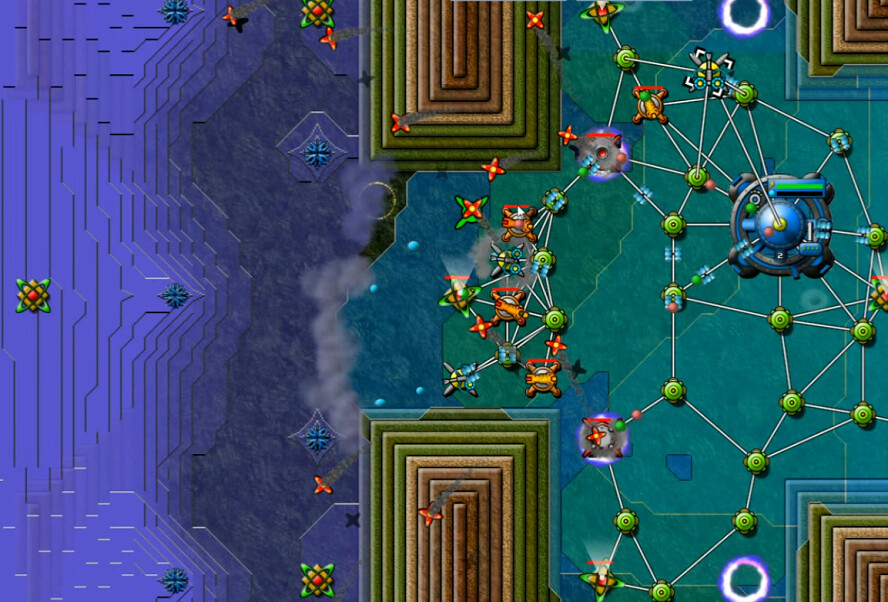
The southwest basically has a bright neon flashing sign saying START HERE. There are two identical 'castles' with spores and standard emitters, we start on one end of the valley between them. The other end has a strong emitter (150 per 0.5s), but only one. And then we have various artifacts to gather up.
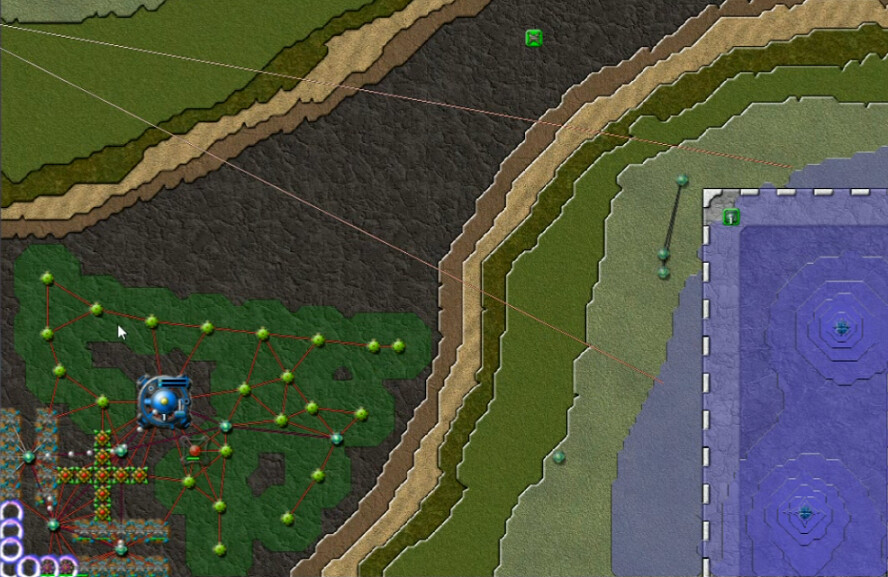
This was not precisely the most brilliant beginning. The castles overflowed quicker than I thought, ending my plan of pre-emptively containing them. I also threw up all the ore mines at once which was a mistake, horribly tanking my energy.
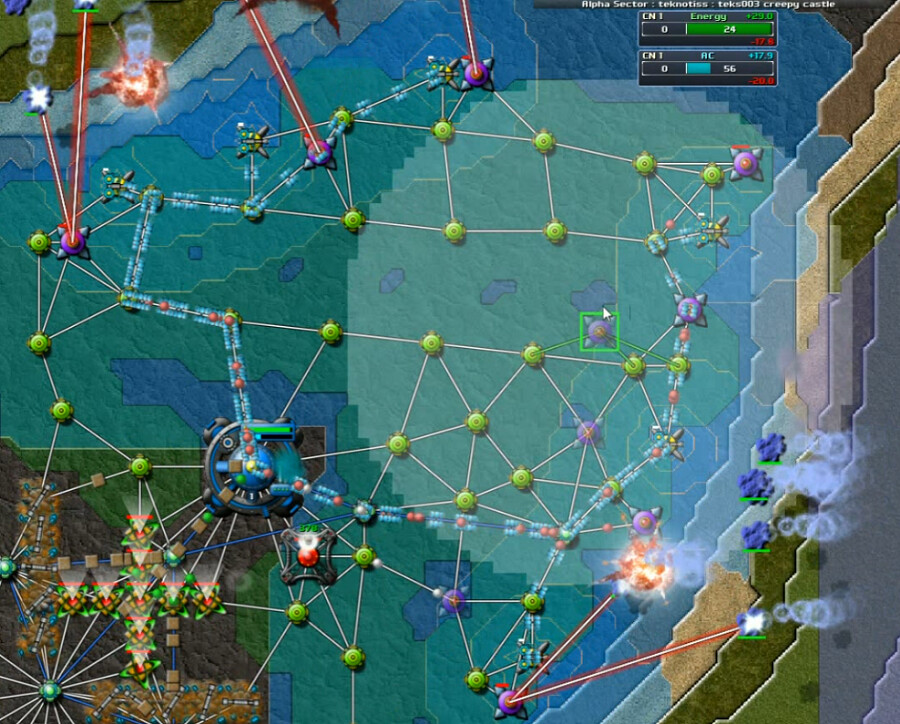
4:28 mission time. The first wave, and the typical point in missions like these where you've either won or lost. I have just enough Beams up, which is good - because I don't have enough AC yet to make up for them. The first three nearby artifacts were beams, shield, and though I didn't realize it immediately, Forge. So now we're going to be doing warp-speed upgrades with all these Totems.
We're out of the energy hole and I have a couple of SuperBeams in the very corner off-screen just be safe. They were needed, but they were also enough.

After building up the defensive perimeter more and starting upgrades, the AC blanket started effectively expanding our territory without any help. Including up the hillsides a bit, which was a pretty cool effect.

It took very little to get to the eastern castle with all the energy-based weapons devoted to that, and we also were able to snag a Node Artifact while there.

Then, snagging the Bertha Artifact in the center of the narrow part of the valley, I set up some of those on PZs within the structure and started pounding the rest of the map.

By now I had enough spare AC to launch an all-Sprayer strike on the second castle, which had some amusing ripple effects. It was pretty smooth sailing from here.
Shield Shove is, in my opinion, designed and/or named a little off. Ultimately I think shields are totally unnecessary, and not even particularly helpful, in completing the level.

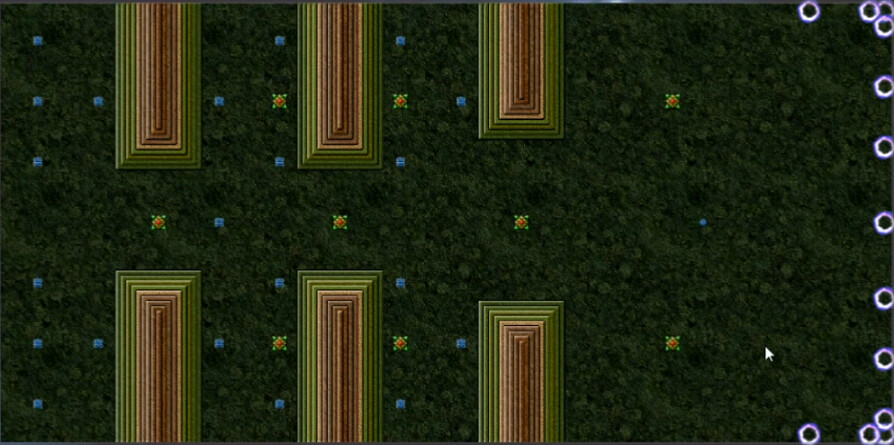
We start in the east with a bunch of ready-made power zones, and that's an AC emitter over there to help us. The main gimmicks of this one are No Berthas and a very limited weapon set otherwhise. Aside from nullifiers, we are permitted the following:
** 4 Pulse Cannons
** 2 Mortars
** 9 Sprayers
** 6 Bombers
That's it, and that's all. So I get a Forge going, put SuperReactors on the PZs since there are no spores here, and get to work.

I also thought I was supposed to use shields somehow due to the title, so I built this -- the idea of which is to keep AC from flowing backwards from our emitter, so it will be more concentrated forwards. In reality, I think this is a total waste of time and energy. I've got one collector-Sprayer already, and using those combined with more at the front is just better than anything you can do with shields on this mission I think. You could also just use them at the front to push the Creeper back - but using shields and AC in combination is always logistically problematic because they push the anti-creeper as well. It can be done if you make sure the sprayers are always shooting ahead of where the shield reaches, but I don't think it is at all worth the trouble on this map.
These are not raging criticisms of the map, but it is the first one I've run into with this author where I just feel like - decent level, but really could have been done better.

This starts a little slow, as it's difficult to make progress against the creeper with the limited firepower until you get some upgrades. Firing rate is particularly vital on this level, even more important than range when it's usually the other way around. Still, it isn't too painful - even with the wasted time on the shields I'm taking down my first emitter here at just over 10 minutes in.
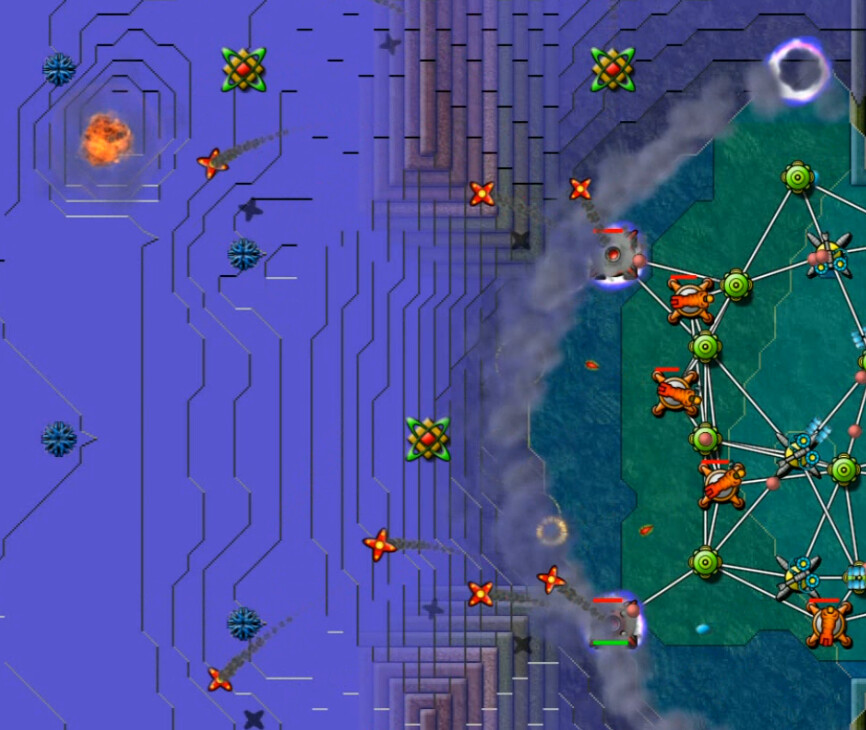
All of them are the standard strength, so it's a linear effect of reducing the enemy's ability to wage war with each one that goes down. Then I start putting Mortars on the cleared power zones, punishing the deeper concentrations further in. Sprayers keep the waves at bay, SuperCannons clear the flanks ...
... and then it's a re-concentration of force to move through the next passage. Two more fairly similar areas to clear, but it's lather-rinse-repeat at this point. Weapon upgrades and balancing sprayers between rear collection and front-line disbursement are the keys to making this go smoothly.